In Parramatta, one heavy downpour can turn a tiny roof gap into a costly leak. That’s where metal roof flashing earns its keep. These sleek strips of metal protect the joints and edges of your roof, stopping rain from sneaking into places it doesn’t belong.
In Australia’s unpredictable climate—where blazing summer heat can flip to sudden storms—flashing isn’t just a building detail, it’s your first defence against water damage. Get it right, and you’ll barely think about it. Get it wrong, and you’ll remember it every time it rains.
What is Metal Roof Flashing?
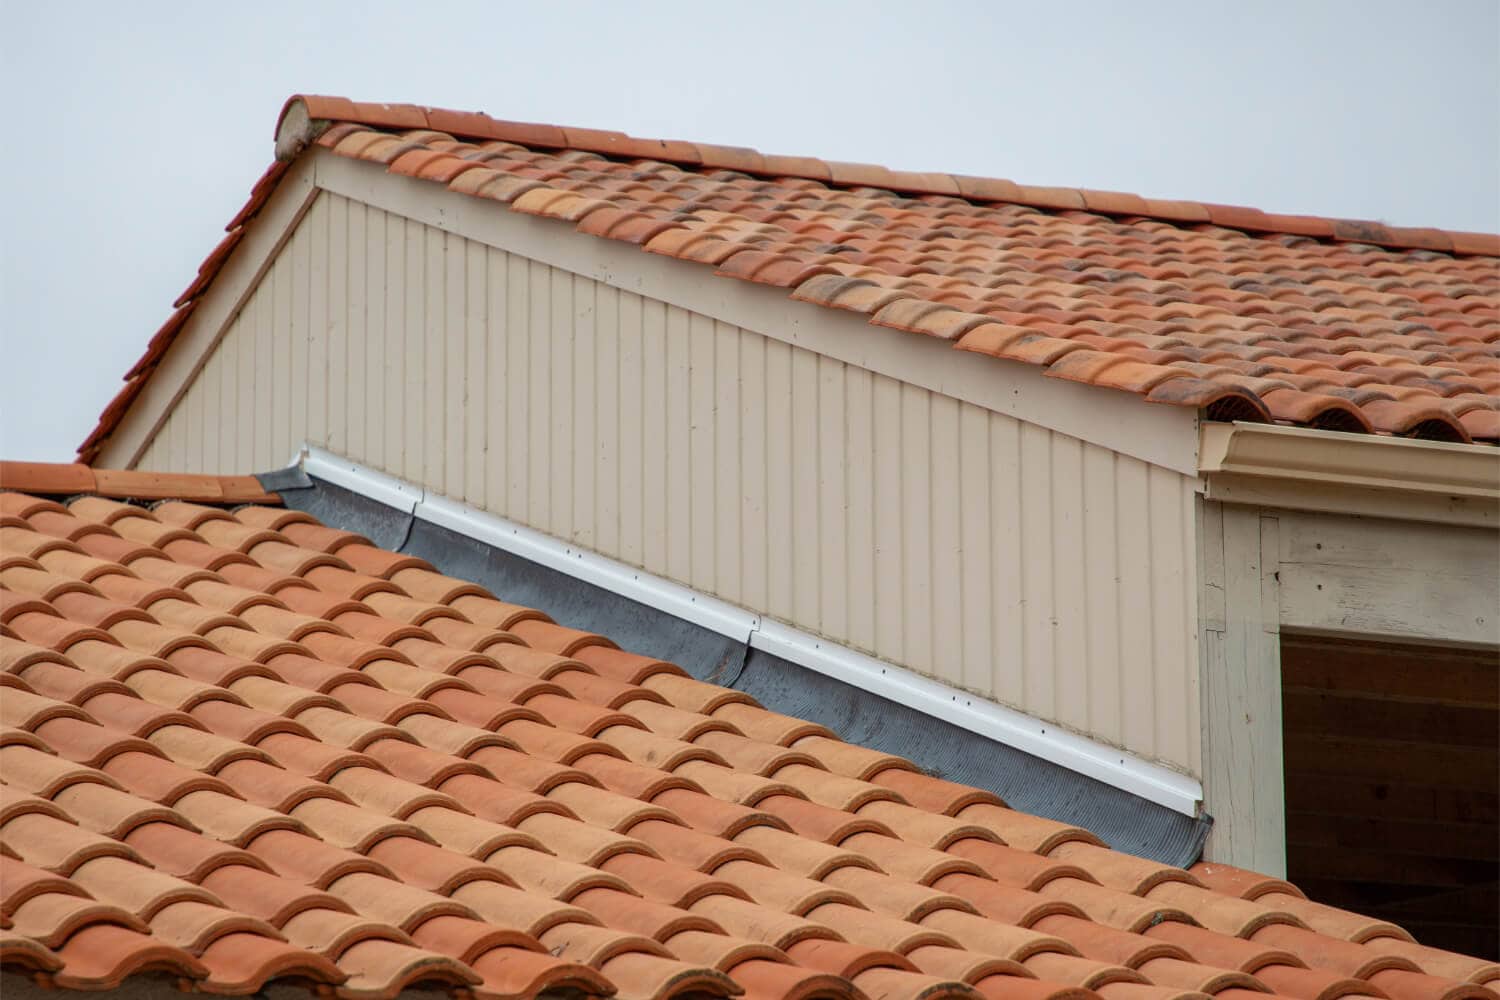
Metal roof flashing often looks like a neat strip of metal tucked under roof sheeting or over wall tops. In the photo above, you can see flashing protecting a gutter-edge on a metal roof. A roof flashing is literally defined as “a rigid or flexible material fixed over, against or built into an abutment to form a watertight joint”.
In practice, that means it bridges the gap between different materials (like roof sheets and brick walls) so rainwater can’t sneak in. New flashings might gleam like fresh paint, but whether shiny or aged, they all serve the same purpose: guide water away from weak spots in the roof. Think of it like a protective lip on an umbrella; flashing makes sure every drop runs down into the gutter, not through your ceiling.
Why Metal Roof Flashing is Important
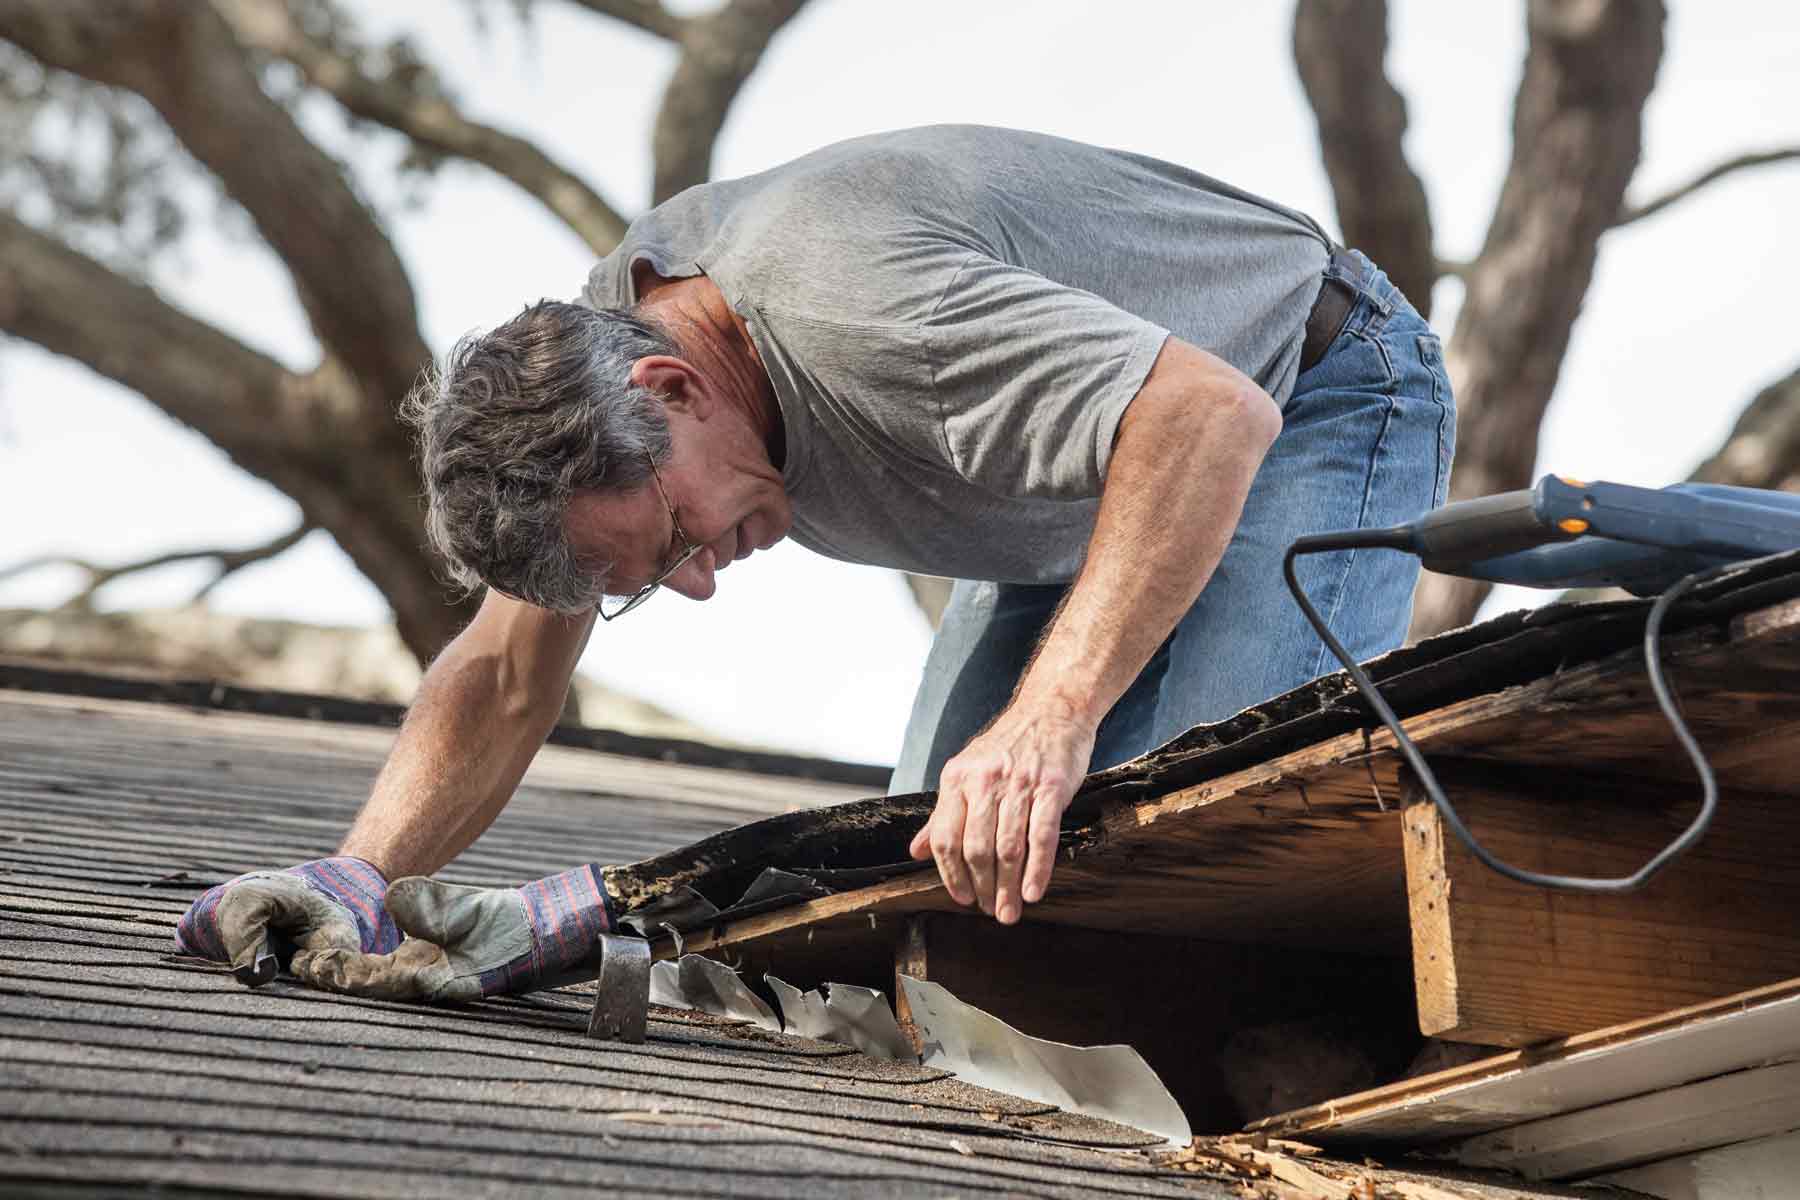
Australia’s weather doesn’t mess around – from heavy storms to baking summer sun, your roof copes with a lot. Flashing is your front-line defence. Inadequate or missing flashing is famously one of the top causes of leaking roofs.
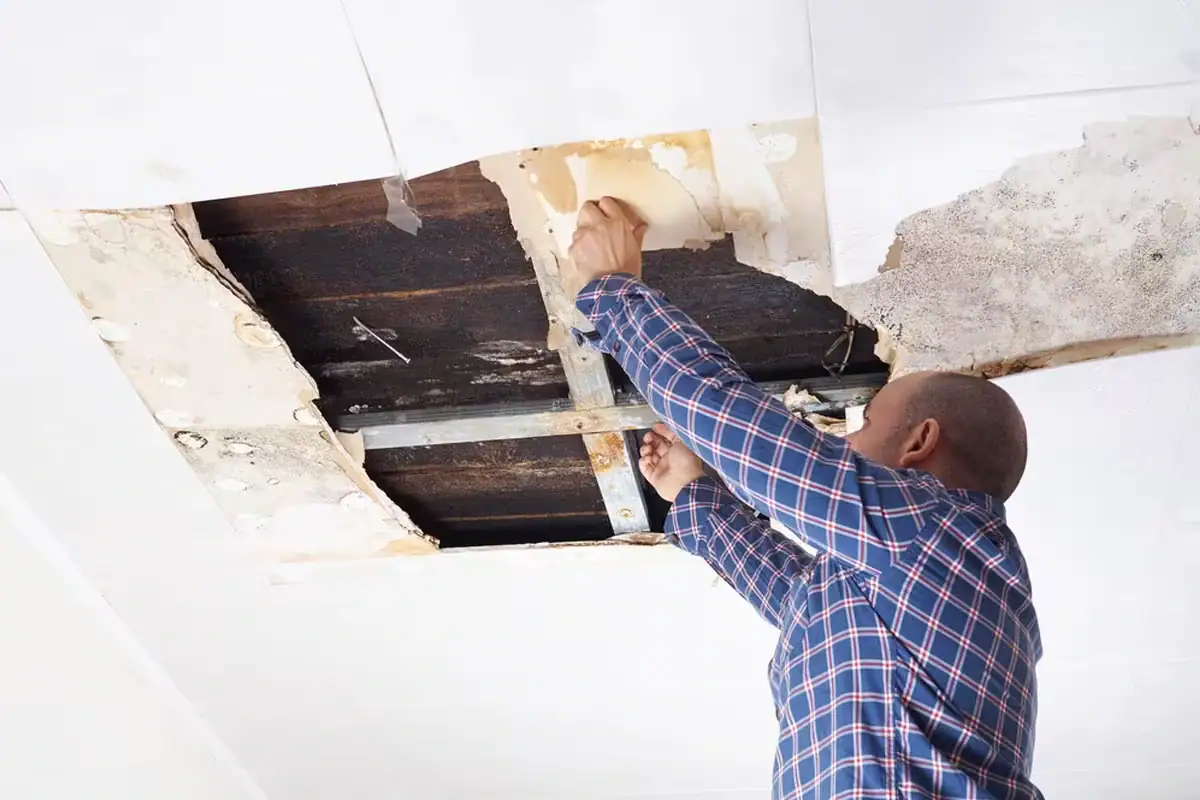
In Queensland alone, inspectors count “inadequate construction of roof flashing” among the top ten building defects. If flashing fails, water gains entry, wrecking insulation, joists and even drywall. The consequences? Stains, rot, mould and a very sad homeowner.
Importantly, Australian building standards take this seriously. The National Construction Code (NCC) and various Australian Standards explicitly require flashings wherever roofs meet walls or other penetrations (think windows, chimneys, skylights).
For instance, NCC rules mandate minimum overlaps and sealed joints (like 75mm laps and 40mm screw spacings) to prevent leaks. In short: good flashing isn’t optional – it’s critical. It keeps your home dry, avoids nasty repair bills, and even helps you comply with regulations. When the next downpour hits Parramatta, a robust flashing system will be quietly doing its job, and you’ll barely notice the storm outside.
Common Types of Metal Roof Flashing
There’s a flash of genius for every roof situation. Here are the main kinds you’ll encounter:
- Apron (or Skirt) Flashing – a flat “tray” of metal tucked under wall cladding or over a lower roof. It’s used where a roof meets a wall or another roof plane.
- Step Flashing – a series of overlapping L-shaped pieces used along chimneys or sloping walls. Each piece is nestled under a shingle (or roof sheet) above and over the roofing below, creating a step-like barrier.
- Continuous (Headwall) Flashing – a long strip covering the top of a wall abutting a roof (often found behind parapets or dormers). It prevents water from running down behind the wall.
- Valley Flashing – installed in the gutter-like valleys where two roof slopes meet. It acts like a custom-made funnel, catching and channeling large flows of water.
- Drip Edge Flashing – runs along the eaves and rakes (edge) of the roof. It has a little outward bend (like a drip lip) that keeps water from clinging to the fascia and instead guides it cleanly into the gutters.
- Ridge (Barge) Capping – covers the peak (ridge) or sloping edges (barge) of the roof. You can see an example below: this ridge flashing sits atop the metal ridge, sealing the junction between roof planes. It’s usually custom-made to match your roof profile.
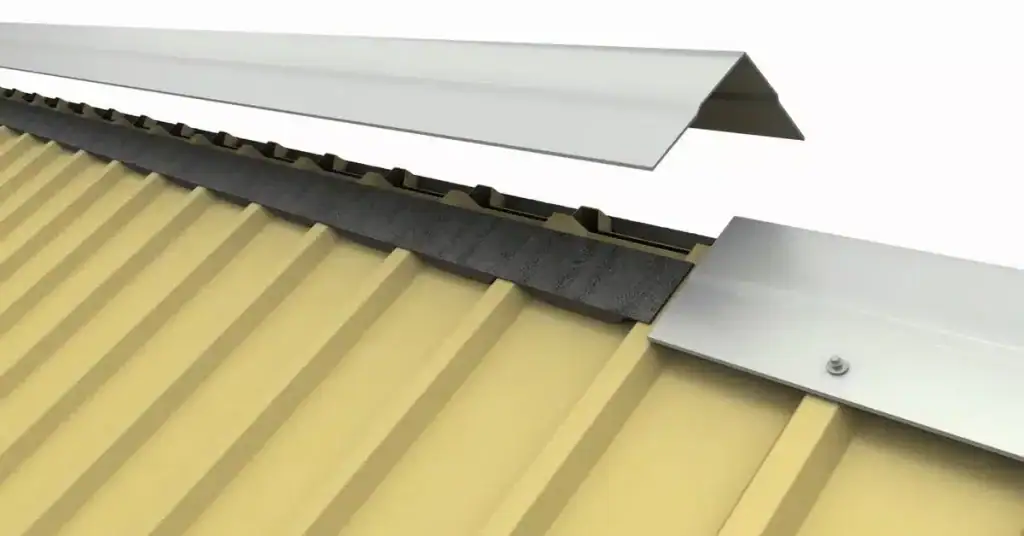
Above: Ridge capping (a type of metal roof flashing) seals the peak of this roof to keep water out.
- Penetration Flashing – various flashings for pipes, vents, skylights, and other roof penetrations. These include round pipe collars and kerbed skylight flashings, all designed to hug that odd shape and keep it leak-free.
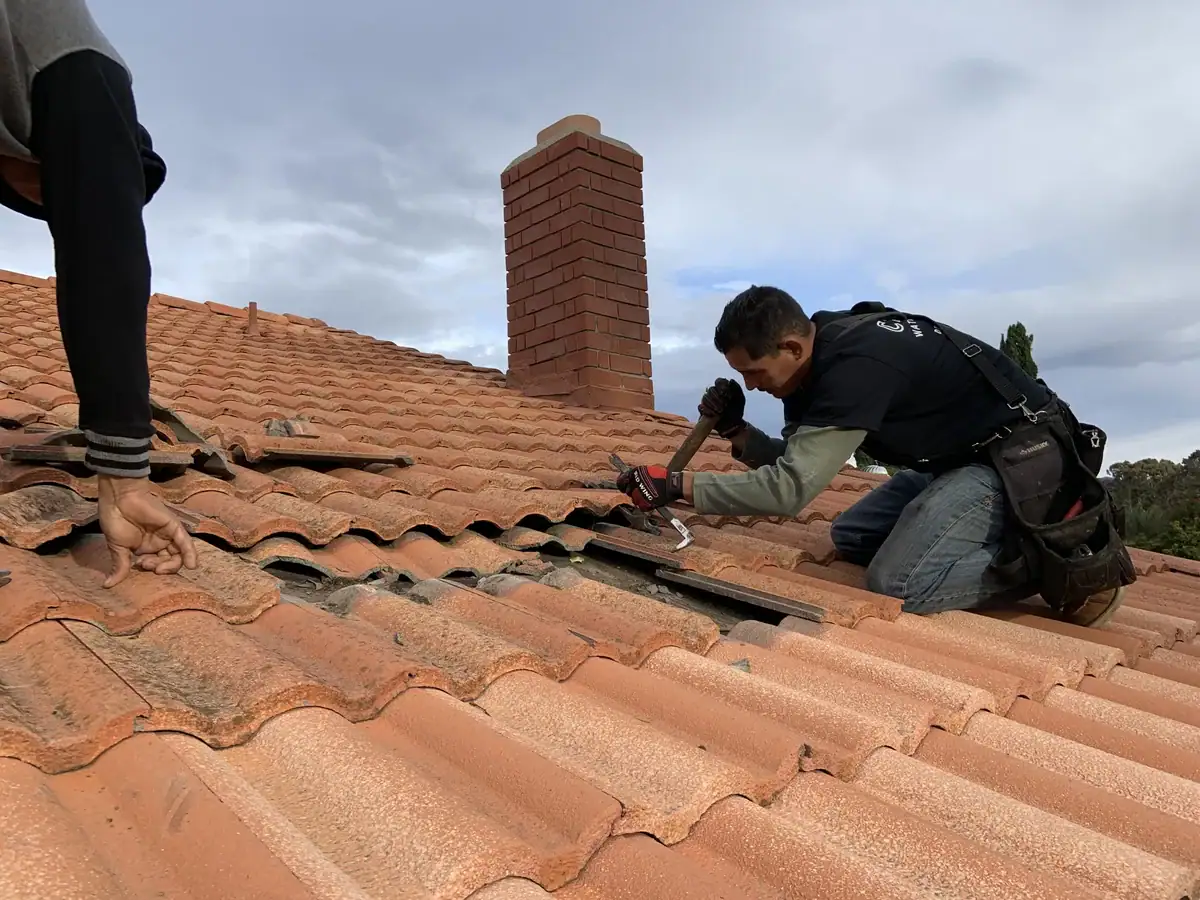
Each type is tailored for its job. For example, in the image below, the step flashings are hidden under the tiled roof beside a brick wall chimney. You can see metal strips jutting out between the tiles and brick – those thin pieces prevent water slipping between the brick and roof.
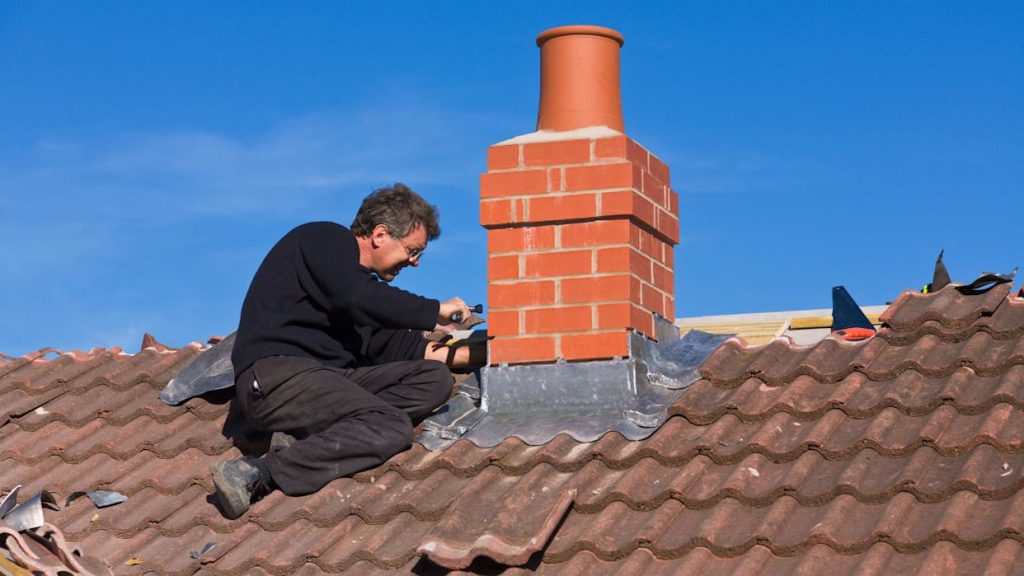
Above: Step and apron flashing under the tiles here prevent leaks at the brick chimney (and yes, it’s a tile roof with metal flashing!).
By combining these flashings, roofers form a complete watertight envelope. No matter your roof shape – flat, gabled or skillion – there’s a flashing solution to keep every nook and cranny dry.
Materials and Durability
Not all flashing metals are created equal. The material you pick should match your roof and climate. Common flashing metals in Australia include:
- Galvanised Steel (often Colorbond) – Steel sheet coated with zinc (or Zincalume® alloy) is a workhorse. It’s strong, affordable and matches metal roofs (especially Colorbond steel roofs). According to building practice notes, Australian roofs often use steel coated with zinc or zinc-aluminium alloy.
- Aluminium – Lightweight and corrosion-resistant, aluminum is easy to work with (often used for gutters and some flashing). However, it can corrode if touching dissimilar metals.
- Copper or Zinc – These give a classic look (you’ll see copper on heritage homes), and they can last 50+ years. But they’re expensive. Copper is still used for things like custom flashings or heritage restorations.
- Stainless Steel – Very durable and rust-proof, stainless is overkill for typical homes but excellent for coastal areas where corrosion is brutal.
- Lead (old style) – Used on old slate or tile roofs, but rarely used on modern metal roofs (and Australians are phasing it out for lead-free alternatives).
The Victorian Building Authority notes you should “use material compatible with all roof and wall cladding” – basically, no metal mash-ups. Mixing, say, copper with galvanized steel will trigger galvanic corrosion (where one metal eats into the other). So, pair your flashing metal with your roof (Colorbond flashing on a Colorbond roof, etc.) or use metal flashing that’s been coated or sealed against dissimilar contact.
Each metal has trade-offs: Galvanised steel flashing (including color-coated Colorbond panels) is very common in Aussie homes due to its good lifespan (often 20–30 years) and variety of colors. Aluminium won’t rust, but it’s softer (can dent). Copper is almost indestructible and pretty, but costs more. Ultimately, choose what blends with your roof and budget.
Installing and Maintaining Flashing
Proper installation is what keeps flashing doing its job. Here are some tips and best practices:
- Prepare carefully. Clear debris, measure the area, and cut your flashing pieces accurately. A clean, dry surface is key for any sealant or adhesive to stick.
- Overlap correctly. On sloping roofs, install flashings from the bottom up. Each piece should overlap the one below by at least 75 mm (as a rule of thumb – many codes specify this). This overlap ensures water always flows outward. Basically, never let water run uphill under flashing!
- Secure properly. Flashing should be firmly fastened (screws or nails) at recommended intervals. For metal roofs, fixings often go just above the bottom edge of each flashing piece so the next piece covers them. Some building codes say fastener heads should be no more than 40 mm apart.
- Seal the edges. Wherever flashing might let water squeeze in (like laps or abutments), apply an appropriate waterproof sealant. Think of it like caulking a bath edge – it backs up the metal joint. But don’t rely only on sealant; it’s a backup, not the sole defence. (Good mechanical laps are the first line of defence.)
- Work with the roof. Different roof profiles need tailored flashing. Corrugated metal roofs need flashing bent to match their ridges, while flat or tile roofs need flashing cut and finished to suit the materials. For example, on a corrugated iron roof, you’d get custom-pressed flashing that zips into the corrugations. On a flat roof, flashings often lay flush and use box gutters.
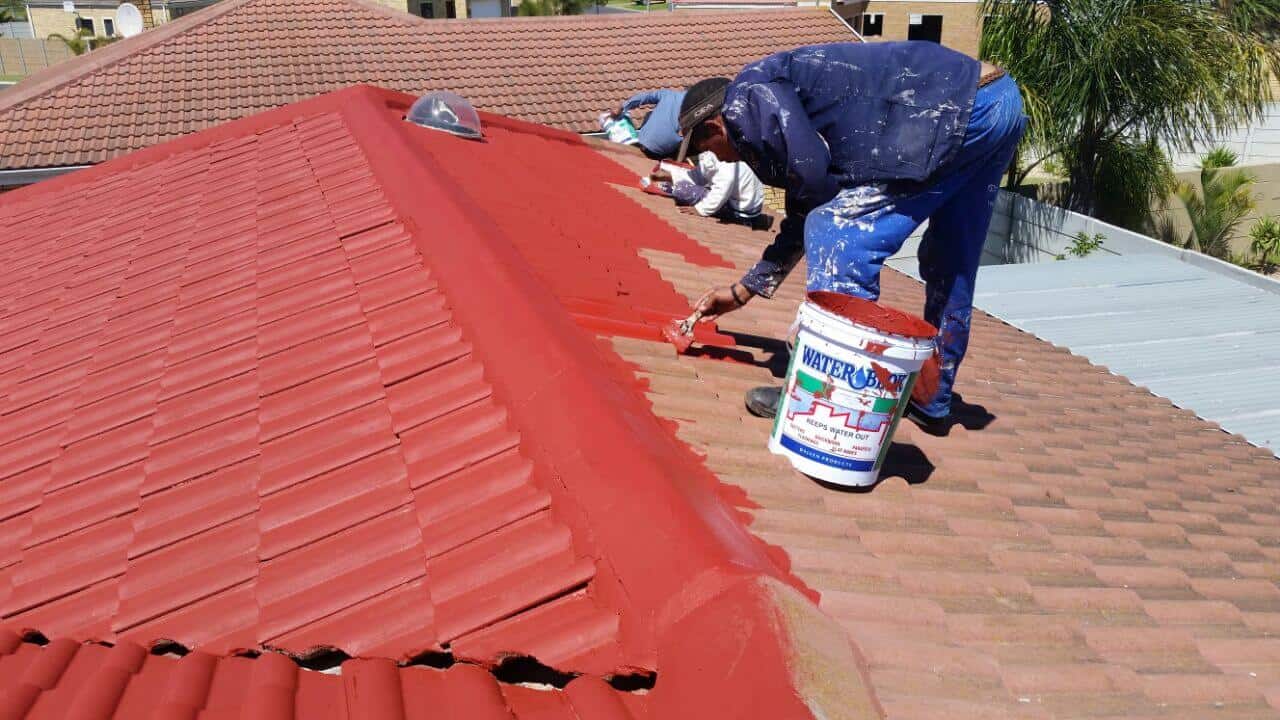
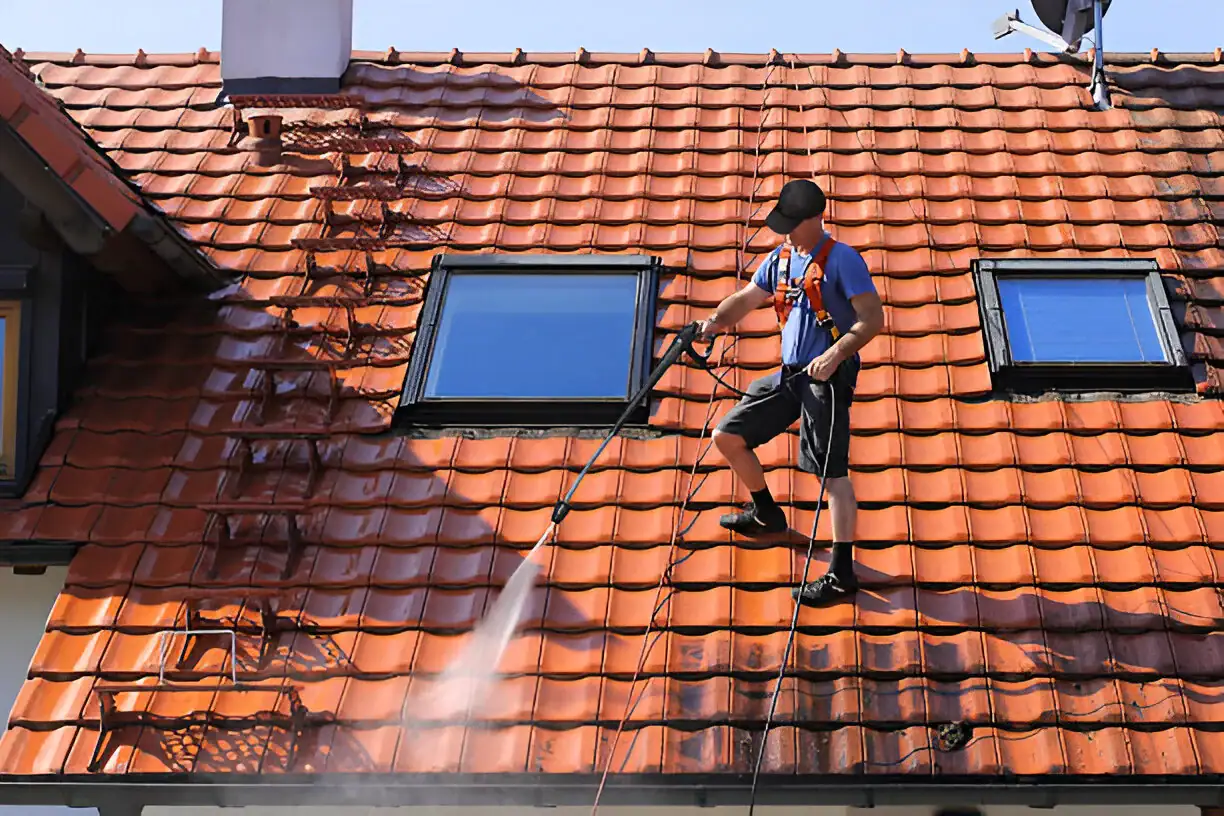
In practice, a professional might do steps like this, but even DIYers can follow the same logic (at your own skill level). After installation, maintenance is key: inspect flashings at least once a year or after big storms. Look for loose screws, corroded metal, cracked sealant or gaps.
Evo Building Products warns that flashings deteriorate with age, so an annual check can catch small issues before they become leaks. If you spot problems, replace or reseal the flashing right away. Remember, a tiny crack in flashing today can mean a huge ceiling stain tomorrow!
Common Mistakes and Pitfalls
Even a small error in flashing can spell big trouble. Here are some classic pitfalls (and how to avoid them):
- Wrong Installation: Flashing is trickier than it looks. If it’s not bent and placed just right, water will find a way in. Many leaks happen because novices skip the overlap rules or screw placement. Always follow the correct techniques (measure twice, cut once) or call a pro who knows the code.
- Mixing Metals: Don’t experiment with metal combos. As noted, mixing copper and steel, for example, causes galvanic corrosion. This can eat away the metal until there’s a hole. Use compatible metals or protective coatings if you have to combine materials.
- Neglecting Seals: Seams and laps must be sealed. If a flashing lap isn’t sealed, wind-driven rain can get under it. Manufacturers often recommend butyl or silicone sealants on every butt joint or termination point. Skipping this is an invitation for drips.
- Ignoring Code Specs: The rules aren’t there to cramp your style – they keep your home dry. For example, the NCC explicitly requires a minimum overlap of 75 mm on flashing joints and maximum fastening spacing (40 mm). Ignore these, and insurance might even frown on your work. If you love DIY, review the National Construction Code (NCC) for those technicalities. (Yes, the official site – it’s actually user-friendly once you get past the legalese.)
- Skipping Inspection: Flashing doesn’t break in obvious ways like a snapped board. Small gaps or rust spots can grow unnoticed. Stay vigilant after storms or if your roof creaks or groans. Regular inspections – even just walking by with binoculars – can catch issues early. It’s a lot cheaper to reseal flashing than to repair water damage later.
In short, poor flashing craftsmanship is no laughing matter. Roofing inspectors often say, in so many words, “Roof leaks? Check the flashing.”. So take the time to do it right: secure those edges, seal those laps, and you’ll dodge the common pitfalls. The effort upfront can save you from calling a roofer in a mad dash when the next storm warning hits.
Conclusion
Flashings might not be glamorous, but they’re crucial. In our Australian climate, they’re the silent guardians keeping roofs watertight. By understanding what flashing does, using the right type and material, and installing it correctly, you’re investing in your home’s longevity. Remember to inspect and maintain them – a stitch in time saves nine when it comes to leaks.
Stay curious, stay vigilant, and treat your flashings with the respect they deserve. After all, they’re the unsung heroes that keep your home dry and comfortable. If you found this guide helpful, share it with a mate or save it for the next time you’re up on a ladder. Here’s to staying high and dry under the roof (and its trusty flashing)!
Frequently Asked Questions
What does metal roof flashing actually do?
It creates a waterproof barrier at roof edges, valleys, and joints where leaks are most likely to form. It channels rainwater into gutters and away from weak points in your roof.
How long does metal roof flashing last in Australia?
Depending on the material, quality, and maintenance, flashing can last anywhere from 20 to 50 years. Coastal areas may see faster wear due to salt air.
Can damaged roof flashing be repaired, or should it be replaced?
Minor issues like loose screws or small gaps can often be repaired. But if the flashing is badly corroded, cracked, or warped, replacement is the safest option.
How often should I check my roof flashing?
Inspect at least once a year and after major storms. Early detection of rust, loose sections, or sealant damage can prevent costly leaks later.