You’re sipping your evening cuppa when a drip-drop on the ceiling reminds you of that nagging roof leak. Ugh – the immediate question: tackle the roof leak repair yourself or call in a pro? Maybe you’ve got a ladder and duct tape lying around, or maybe you’d rather not risk climbing up at all. Trust me, I’ve been there.
In Australia, roof leaks are shockingly common – one source estimates over 70% of Aussie homeowners will face a roof leak at some point. That’s because Aussie roofs take a beating from everything Parramatta’s climate can throw at them, from scorching sun to sudden downpours. Leaks can start small (a cracked tile, a rusty flashing) and quickly turn into serious damage (mold, rotten beams). So let’s weigh the options: DIY patch-up or professional repair – which really makes sense for you?
Why Roof Leaks Happen
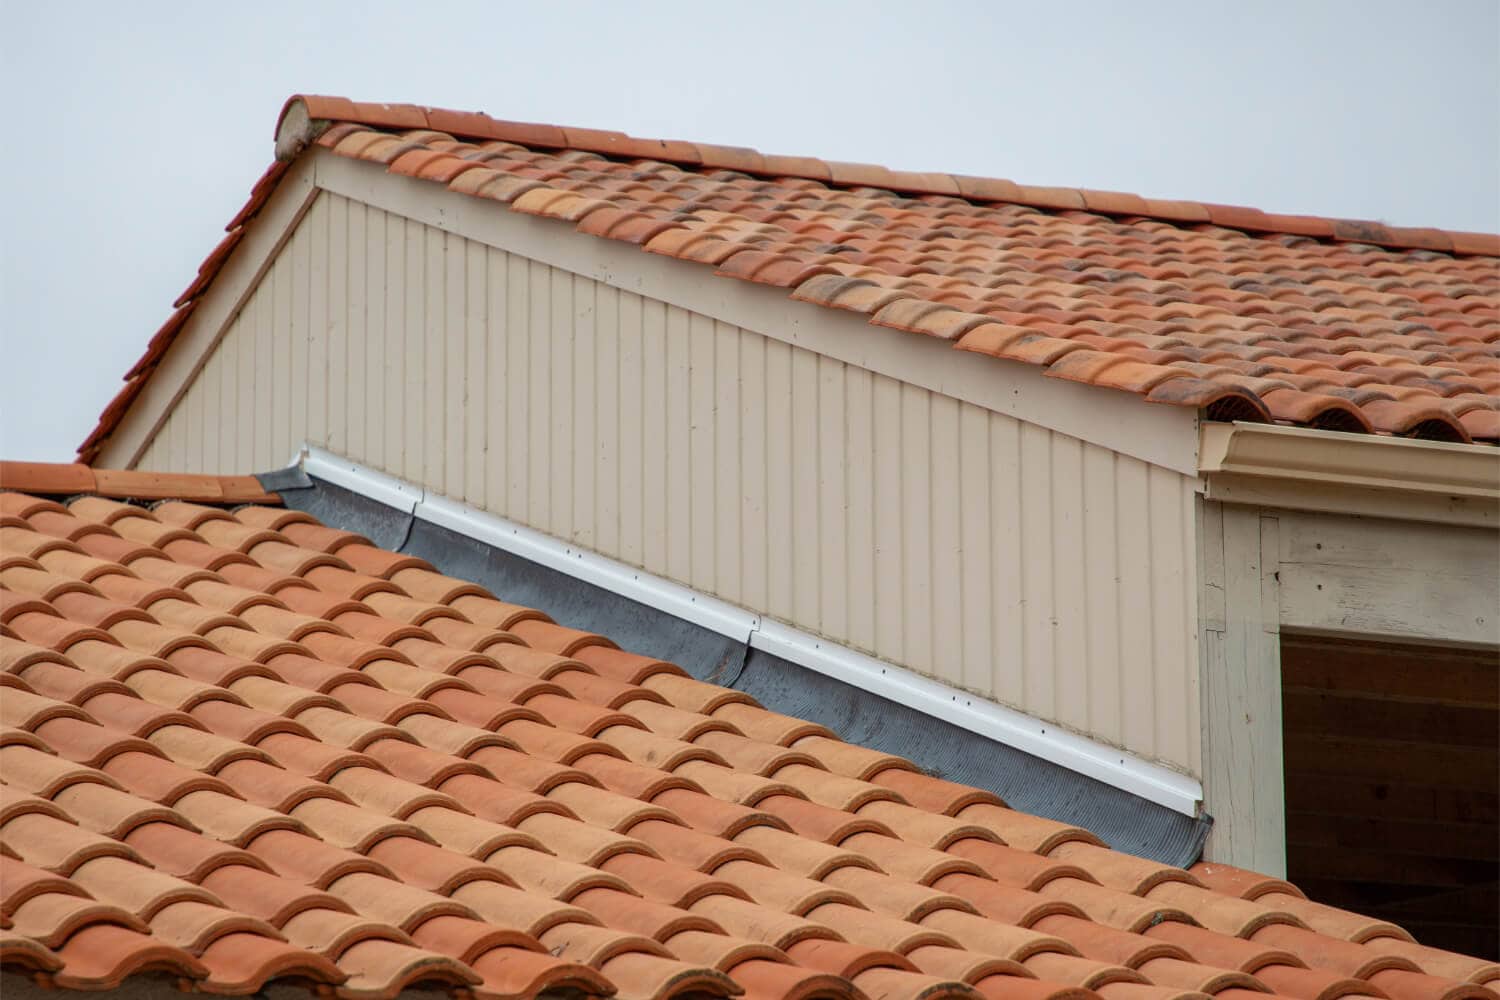
Commonly, leaks sneak in at the weak spots. Think of your roof like a big umbrella for your home – tears around seams, vents, or old flashing are invite-only tickets for rain. As one Aussie roofing guide notes, faulty flashing and joint failures cause nearly 30% of leaks, while clogged gutters dump water under your roof about 30% of the time. Skylights and roof penetrations (vents, chimneys) account for roughly 20% of leaks.
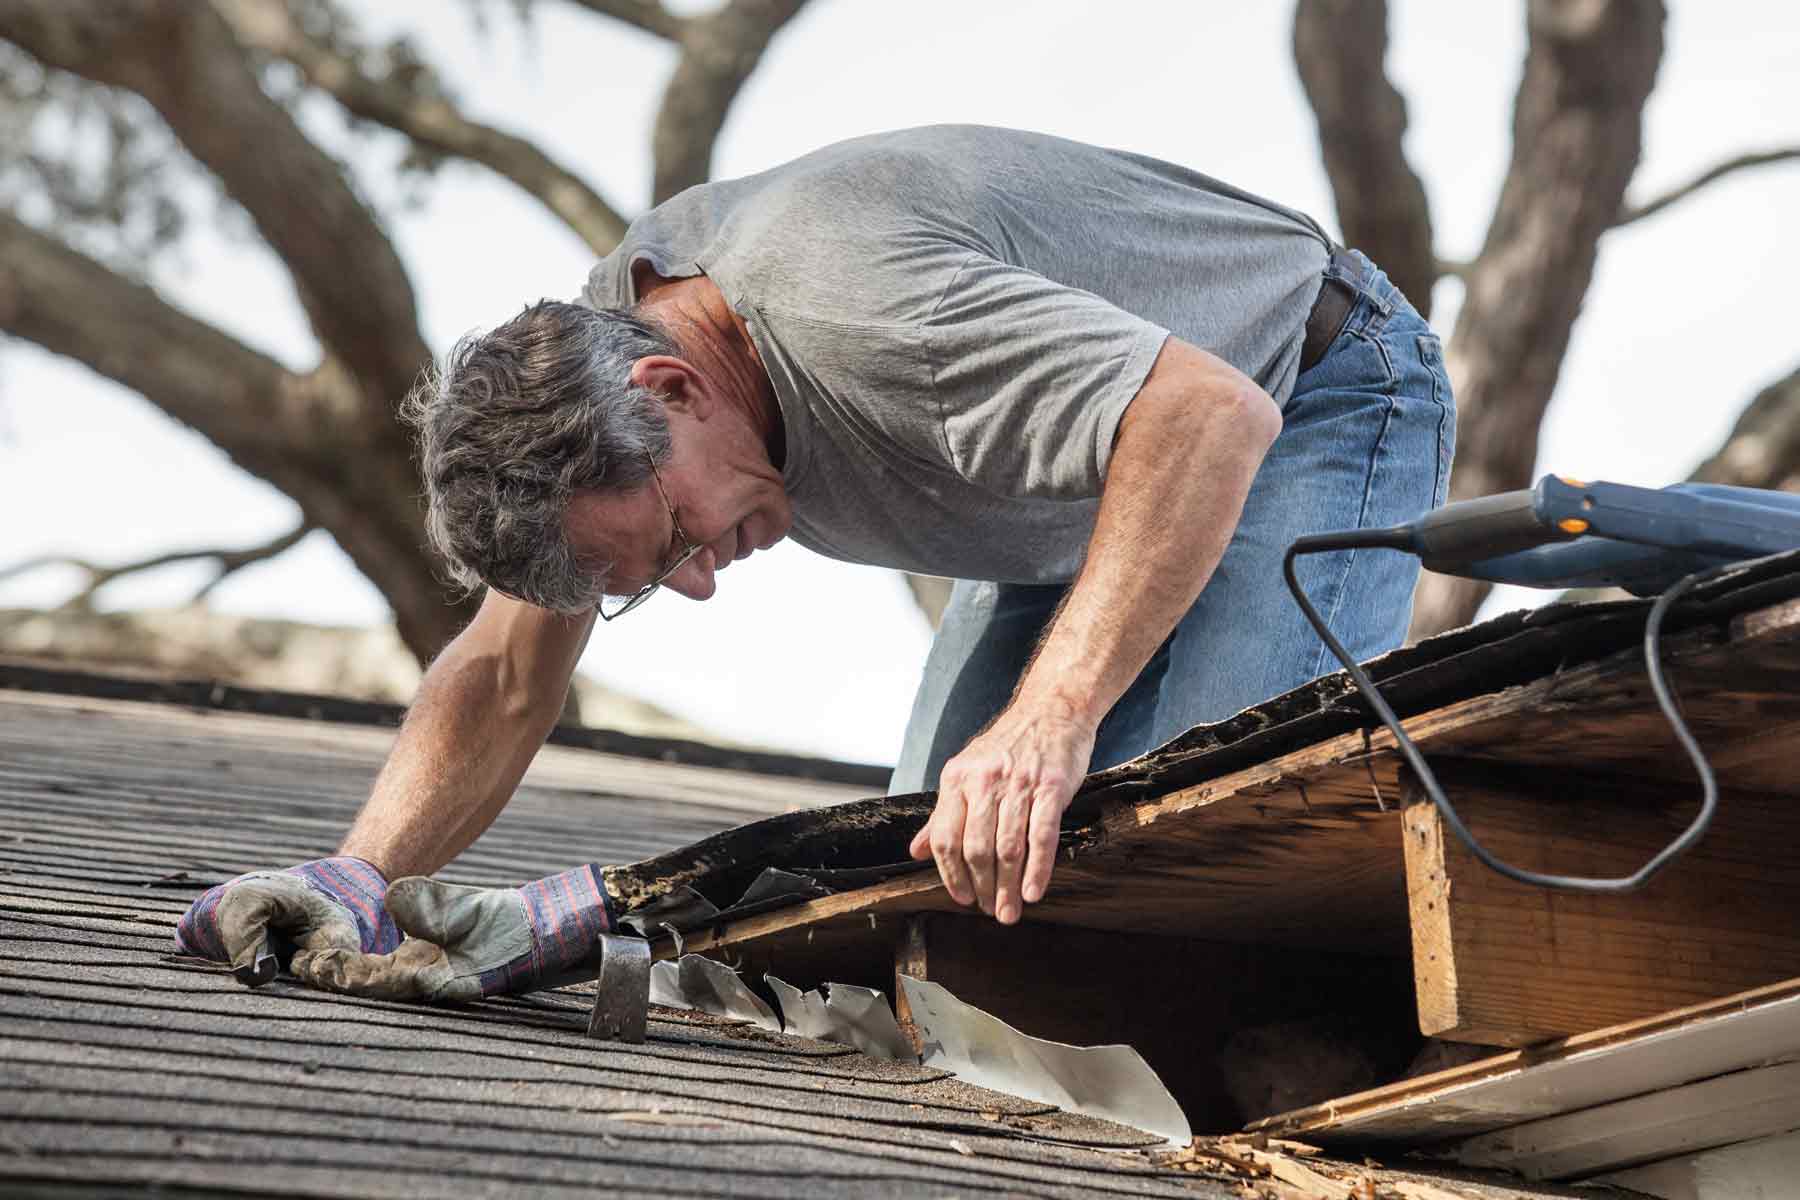
In other words, if water’s getting in, look at anything sticking out of or adjoining the roof. In Parramatta’s suburbs, heavy summer storms can exploit these spots fast. For example, even a well-installed roof like the one shown below can develop leaks where shingles wear out or flashing cracks:
A classic pitched shingle roof – even ‘no-frills’ roofs need regular checks. Small gaps around shingles or flashings can lead to leaks, so routine inspection is key.
According to Australia’s home-building authorities, the best time to spot a leak is during rain. When it’s pouring, look for drips or wet patches on your ceiling and follow the trail upward. In fact, government guidelines say you can “trace the water from the wet spot back to the source” and then seal loose fixings with silicone or bitumen tape.
In practical terms, this means watch out for brown water stains on plasterwork, peeling paint, or moldy patches. And a quick tip from the official YourHome site: clean your gutters regularly – debris and blockages are a top culprit for rainwater finding new ways in.
Signs Your Roof Is Leaking
Before you grab tools, confirm there’s a leak to fix. Common warning signs include:
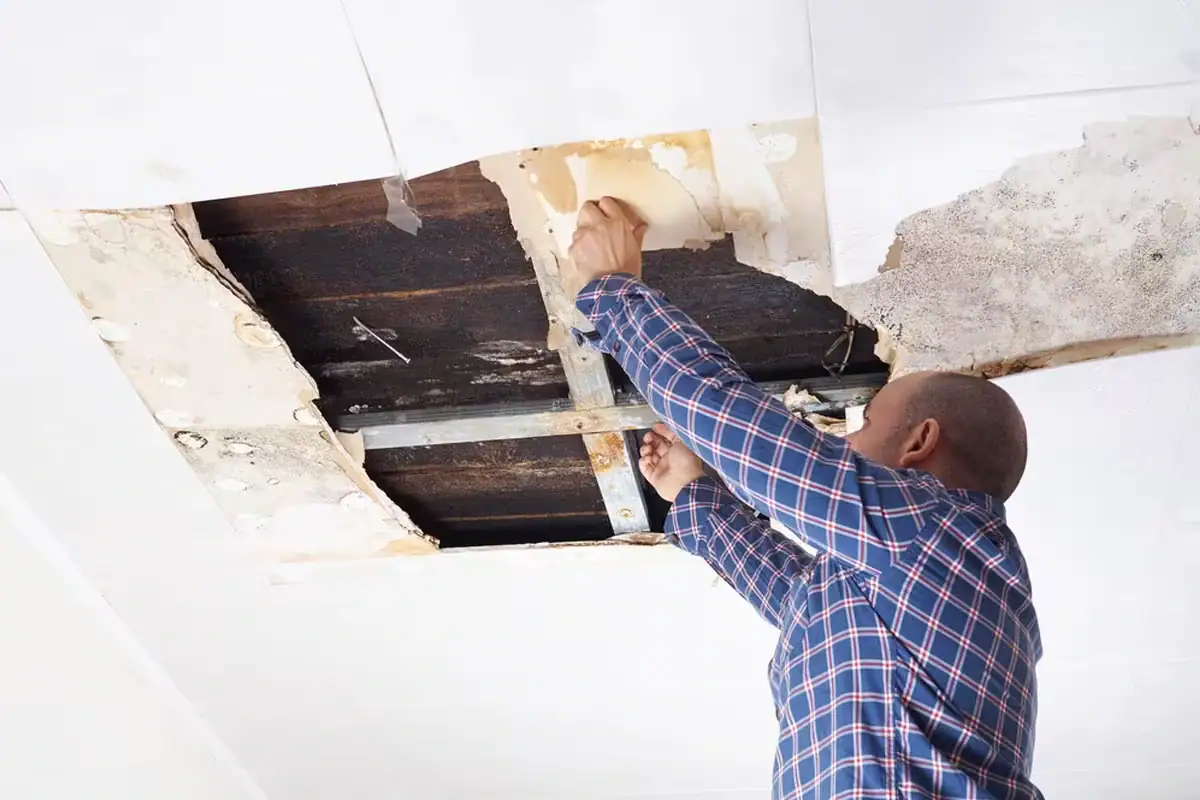
- Water Stains: Irregular brown or yellow patches on ceilings or walls often mean water’s intruding.
- Drips & Puddles: If you hear dripping or see drops during rain, you’ve found it! Buckets are fine for short-term, but they won’t stop the roof leak.
- Mildew or Musty Smells: A persistent damp, earthy odor usually means hidden moisture from a roof leak.
- Damaged Tiles/Shingles: After storms, check for cracked, lifted, or missing tiles/metal sheets – these break spots can let rain inside.
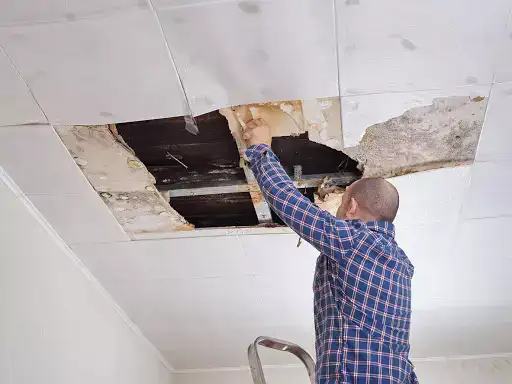
When you spot a leak, first step is containment: put a bucket under drips and press a towel against the ceiling to soak up water. If it’s still raining out, try to locate the wet spot upstairs or in the attic, then stretch a tarp over that roof area as a temporary patch. The Building Institute advises having someone inside watch the ceiling while you spray sections of roof with a hose – this “water test” can pinpoint sneaky leaks.
But remember, all these DIY stops are really temporary band-aids. They buy time, but the underlying issue still needs a fix. In many cases, it’s safer and smarter to call in experts who handle Roof Repairs day in and day out – they’ll know exactly where to look and how to seal it for good.
DIY Roof Leak Repair: Quick Fixes (When It Makes Sense)
You might be a handy type who hates the idea of paying someone. For very minor leaks, a DIY patch can indeed save a few bucks and a phone call. If the leak’s small – say a slipped shingle or popped nail – here’s a basic approach:
- Safety first. Pick a calm, dry day. Wear non-slip shoes and use a sturdy ladder. Consider a harness or at least have a buddy spot you (falls from roofs are a leading cause of injury).
- Clear the gutters. Remove leaves and ensure water flows. A clogged gutter can pretend to be a roof leak, so this quick clean (something the Australian govt recommends) is always a good start.
- Locate the leak source. In the attic or ceiling, find the wettest spot. Trace it to the roof above if possible (during rain is best). From the roof, look for obvious gaps: loose flashing, cracked tiles, open seams.
- Temporary sealing. If you find a hole or gap, you can use roofing tape, sealant, or roofing cement to slap on a patch. There are DIY kits with bitumen patches or heavy-duty tape designed for quick fixes. For example, you might remove a damaged shingle and apply roofing cement under and around the area, then put the shingle back in place. These can hold for a few weeks or months.
- Replace small parts. If it’s a broken shingle or flashing, you can sometimes replace just that piece. Carry spare tiles or shingles up, slide them into place, and nail them down. Make sure nails are coated or covered with sealant to avoid new holes.
Pros of DIY: It’s faster to start and cheaper upfront. You control scheduling (no waiting on anyone), and you might already have basic tools. A minor patch kit and a tube of sealant might set you back only $20–$100 in materials. Plus, if you love a challenge, fixing it yourself can be a learning experience and a confidence booster.
Cons of DIY: Big ones. If that quick patch doesn’t completely do the job, you might just be postponing disaster. A faulty DIY job often misses the root cause, meaning the leak will return (often in the next downpour). Many roof warranties explicitly forbid unlicensed repairs – so your DIY fix could even void insurance coverage on your roof. And remember, roof work is inherently risky.
As Safe Work Australia warns, “falls from height are the major cause of death and injury”. Even on a gentle Aussie roof pitch, a slick tile or loose rafter can send you tumbling. Do you really have the safety gear and experience to climb around up there confidently?
In short, DIY makes sense for very simple, obvious issues (like replacing one slipped tile or sealing a small hole) and only if you feel 100% safe doing it. If you try it, be thorough: inspect for other damage, and retest your patch on a light rain to ensure it holds.
Professional Roof Leak Repair: What to Expect
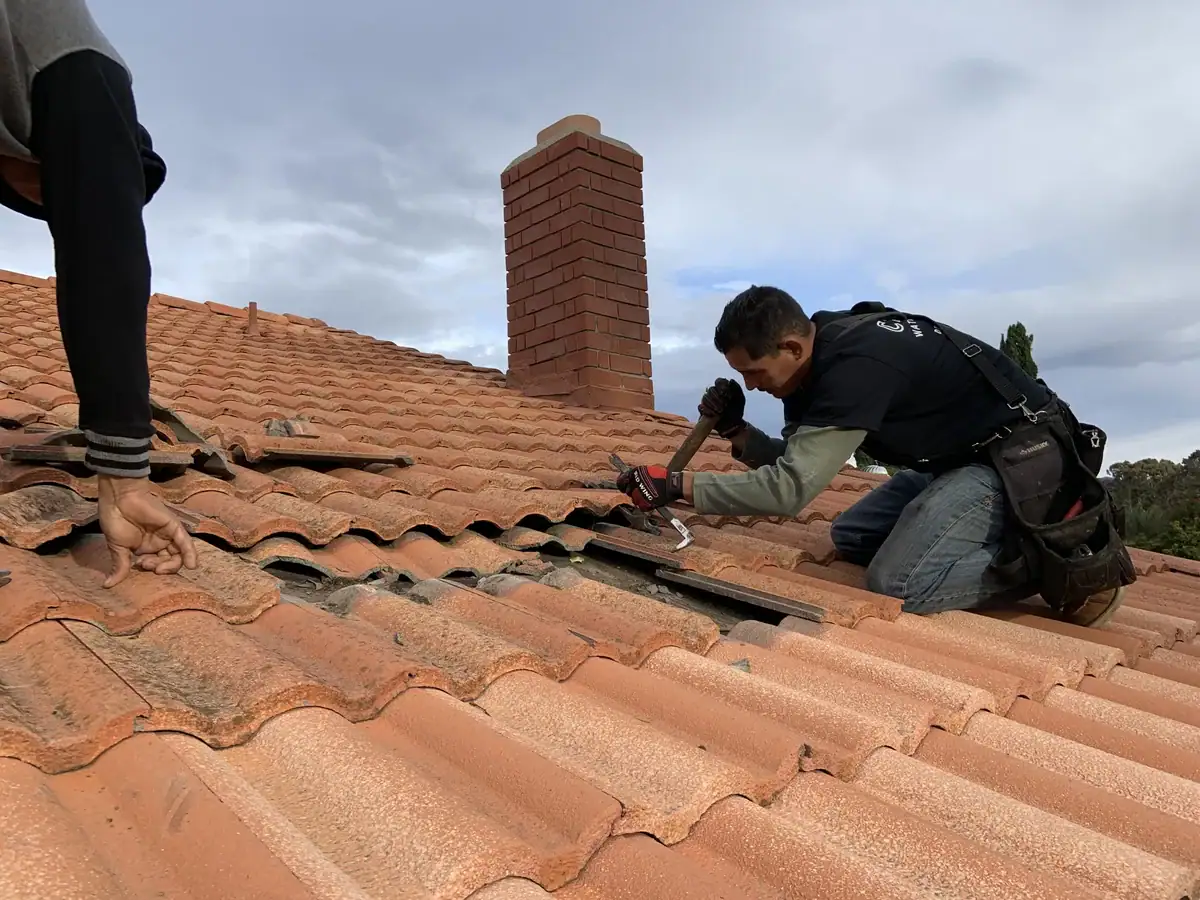
Now let’s talk calling the pros. A licensed roofer brings expertise that a weekend warrior usually can’t match. First off, professionals do a thorough inspection. They won’t just slap on a patch; they’ll search the roof inside and out, test flashings, check underlay, even use moisture meters or thermal cameras. This means they can fix the real problem, not just hide it.
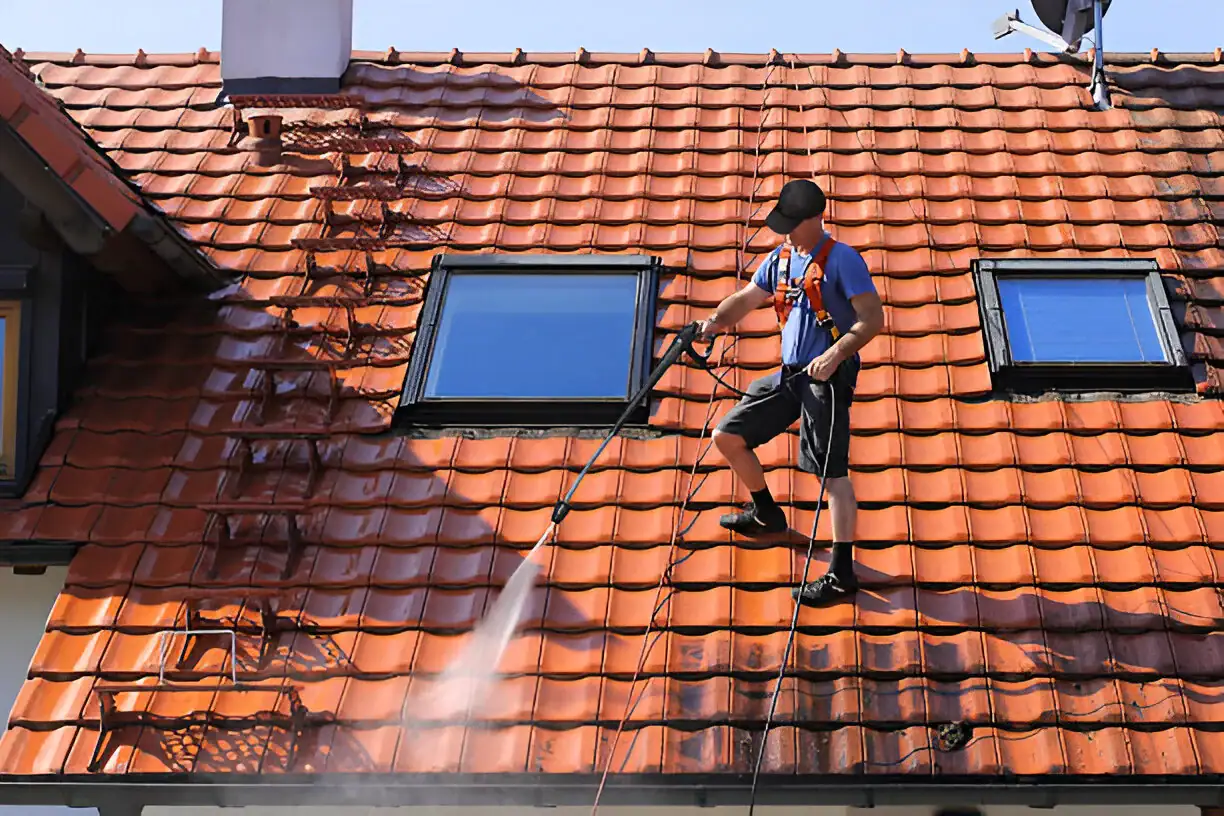
A professional roofer on a tiled roof – pros have the right tools, ladders, and know-how to handle tricky repairs safely and thoroughly.
Here are some big advantages of hiring a pro:
- Expertise & Tools: Roofers spend years on all kinds of roofs. They know that “metal corrodes differently than tiles,” or “that particular flashing seal needs a special weatherproofing.” They come with professional sealants, coatings, ladders, scaffolds, even safety harnesses, so the job gets done correctly. As one expert guide notes, professionals use “high-grade, durable materials” and adhere to building codes – mistakes a DIY fix might make.
- Warranty & Insurance: Many roofing companies (especially reputable ones) will guarantee their work. That means if your leak reappears or a patch fails later, they’ll re-fix it at no extra charge. DIY fixes obviously don’t have that safety net. Plus, licensed roofers carry public liability and worker’s comp insurance – so you’re not on the hook if someone gets hurt or property is damaged.
- Time & Hassle: A pro team can often fix things much faster. They’re up on roofs all day, often with an extra pair of hands, and they know tricks to work in various weather. What might take you all weekend could take them a morning. That means less time with buckets catching drips in your living room.
- Beyond the Leak: Pros will also check for unseen damage – rotten timber, mold in insulation, poorly vented eaves, etc. They can alert you to related issues that DIY patchers might miss. For example, if your roof is old or has other weak spots, a roofer might advise a partial or full reroof, which could be more cost-effective in the long run.
When to definitely hire a pro: If your roof is more than ~15-20 years old, if the leak spans multiple rooms or storms, or if you see multiple missing tiles, do not DIY. Also, if your DIY fix has already failed (the leak keeps coming back), it’s time to stop patching and call an expert.
Health can be a clue too: unexplained mold in the house or repeated sickness could mean a hidden leak, and pros can diagnose that safely. As one contractor points out, a roofer will “fix the leak and help protect your home and health” by stopping hidden rot.
Cost Comparison: DIY vs Pro
Ultimately, budget plays a huge role. But remember: upfront DIY savings can lead to bigger bills if it goes wrong. Let’s compare ballpark costs (rough estimates for NSW, AUD):
- DIY Quick Patch: Typically only the cost of materials – roofing cement, sealant, replacement shingle/metal, maybe ~$50–$150 total. (You likely already own a ladder and tools.)
- Professional Minor Repair: For a small leak or single-area fix, expect around $200–$600 total (including labor and materials). This covers a simple shingle replacement, flashing reseal, or patch.
- Professional Moderate Repair: If the leak involves flashings, gutter replacement, or a larger section, costs can rise to $600–$2,500. They may need to rip up sections of roofing, re-bed ridge capping, etc.
- Major Restoration: Extensive work (e.g. whole roof section, structural timbers, complete reroof) can run $2,500+, often much higher depending on roof size and materials.
A handy rule: a small DIY kit might cost under $100, but if that repair fails, the next fix could easily be thousands in repairs and water damage. As one breakdown notes, a professional leak repair can be from $200 to $1,500+. For example, fixing rotten drywall and mold after a bad leak might alone cost beyond $1,000. On the other hand, some DIY approaches can cause more damage (rotting beams, drywall fixes, mold remediation – all costly) if they miss the real issue.
In practice, getting a free inspection from a roofer (many offer these) is wise before risking it. That way you know whether you’re looking at a $100 patch or a $5,000 problem. And if it is pricey, at least you can budget or spread payments with multiple quotes.
| Repair Type | DIY Estimate | Pro Repair Estimate |
|---|---|---|
| Single-shingle repair | ~$50–100 for cement/tape | ~$200–400 total |
| Flashing/gutter fix | ~$100–300 (materials) | ~$400–1,000+ (time & parts) |
| Multiple leaks/tiles | Usually not DIY-safe | ~$600–2,500 (larger job) |
| Major restoration | Too complex to DIY | $2,500+ (extensive work) |
(Note: Prices vary by area. In Sydney/Parramatta you often pay slightly more than rural rates because of higher labor costs.)
When to DIY and When to Call the Pros
So how do you decide? Here’s a quick checklist:
- Scope of Damage: If it’s just one tile or a tiny gap, and you’re comfortable on a ladder, a DIY patch might hold you over. If water’s pouring in from multiple spots or the ceiling is sagging, call a roofer.
- Roof Age: Older roofs (15–20+ years) often hide age issues. A pros’ inspection can determine if you’re near needing a reroof. If your roof looks knackered overall, DIY patching is a short-term band-aid.
- Your Skill & Time: Do you enjoy home projects and have the right tools (sealants, ladder, hammer, safety gear)? If not, the time and stress of DIY might not be “worth” the few hundred saved. Remember one good climb requires safety gear – a harness, scaffolding, or spotter. Do you want to spend your weekend fiddling with a roof?
- Recurring Leak: If the leak returns after you fixed it, something’s still wrong under the surface. It’s time for a pro. Don’t keep topping up the bucket every few rains – that’s money down the drain.
- Warranties & Insurance: Check any existing roof or home warranty. A lot of times, insurance or warranty providers insist on licensed contractors. In NSW, the law even says any roofing work (plumbing or covering) over $5,000 must be done by a licensed contractor. If there’s any doubt about regulations, err on the side of a pro.
Think of it this way: DIY is like taking aspirin for a headache – it can help a little, but the underlying sickness might still be there. A pro is like seeing the doctor for a thorough check-up. One may save you money now; the other saves you a bigger headache later.
Safety and Legal Considerations
We’ve hinted at it, but it bears repeating: roof work can be dangerous and regulated. In NSW (which includes Parramatta), any significant roof plumbing or covering work (valued over $5,000) legally requires a licensed contractor. Trying a major fix yourself isn’t just risky – you could void your home insurance or even get fined.
The NSW government warns unlicensed building work can carry fines up to $22,000. And beyond the law, there’s plain old safety. Safe Work Australia grimly notes falls from roofs (even low ones) cause serious injury. If you hire a pro, they bring harnesses, edge protection and training that you likely lack.
Even a small job should respect safety: never go on the roof in wet, windy, or slippery conditions, and always set your ladder firmly on solid ground. If you’re uncertain at all, best to leave it to those who work at heights day in and day out.
According to Safe Work Australia’s working at heights guidance, any roof work where there’s a risk of falling more than two metres requires proper planning, control measures, and sometimes a written Safe Work Method Statement. Falls from roofs remain one of the most common causes of serious injury in Australia—so unless you’re properly trained and equipped, stepping up there can be far more dangerous than it’s worth
Conclusion
So, DIY or Pro? There’s no one-size-fits-all answer – it depends on the leak’s size, your skills, and your nerves. For tiny, simple leaks you’re sure about, a DIY patch can do the trick (and save some cash). But for anything substantial, costly or complicated, you’ll sleep better knowing a professional patched it up right. In many cases, professionals end up being the most cost-effective choice in the long run, thanks to their thorough fix and warranties.
At the end of the day, the goal is a dry, solid roof over your head (and no more water-stains on the ceiling!). So whether you grab the caulking gun yourself or phone in a Roof Repairs expert, make your safety and your home’s integrity the top priority. Have you tackled a roof leak DIY, or called a pro? Feel free to share your story below – it might help someone else stop the drip before it drops!
If you’re scratching your head about that roof leak, now’s a great time to act. Inspect it (carefully!), and decide: hands-on fix or professional help? If in doubt, talk to a licenced roofer. And hey – share this article with a mate who’s wrestling with a leaky ceiling. Stay dry out there!
Frequently Asked Questions (FAQs)
What is the fastest way to find the source of a roof leak?
The quickest method is to inspect the ceiling during or right after rain — look for fresh wet spots or drips. Then trace it upwards to the roofline. Outside, check for cracked or missing tiles, damaged flashing, or clogged gutters. If it’s dry, use a garden hose to gently soak different roof sections while someone watches inside for leaks. This helps pinpoint the trouble spot.
Can I use silicone or roofing cement for a quick DIY patch?
Yes, both are common for temporary repairs. Roofing cement works well on cracks, flashing gaps, or small holes. Silicone sealant can help seal around skylights, vents, or joints. But remember, these are short-term fixes. Without properly addressing the cause — like replacing broken tiles or fixing underlayment — leaks will often return.
Is roof leak repair covered by home insurance?
It depends. If the leak was caused by a sudden event (like a storm or falling tree), most Australian home insurance policies cover repairs. But if the damage is due to neglect or wear-and-tear (like an old roof), your claim might be rejected. It’s best to read your PDS or contact your insurer directly.
How long does a professional roof repair usually take?
A simple repair (like replacing a few tiles or sealing flashing) can be done in a couple of hours. Moderate repairs may take a full day. Larger restorations could take several days, depending on the size, weather, and materials. Many local Parramatta roofers offer free inspections to give you a clear timeframe.
Sources: Authoritative home-building and roofing guides (Australia/NZ context) and industry experts were used to compile the advice and figures above.