Imagine enjoying a quiet morning in your Parramatta home when you hear the drip… drip… drip of water from above. Suddenly you’re scrambling for buckets, towels and a ladder, wondering: Can I fix this ceiling leak myself, or should I call a pro?
That’s the exact moment you realise how important timely Ceiling Leak Repair really is. Dealing with a leaking ceiling can feel as urgent as a flat tyre on your commute to work – ignore it, and you risk far more damage and expense down the track.
As Sydney plumbers warn, even a slow ceiling drip “can lead to significant damage and costly repairs” if left unchecked. In this guide we’ll explore common causes of ceiling leaks, safe DIY quick fixes you can try right now, and when it’s best to hand over the job to a qualified professional. By the end you’ll feel confident choosing the right fix for your home.
What Causes a Ceiling Leak?
A ceiling leak is rarely random — it’s usually a symptom of something going wrong either above the ceiling or somewhere else in your home. In Parramatta, most leaks come from roof problems during heavy rains or plumbing issues from bathrooms and pipes upstairs.
Sometimes, condensation or poor ventilation can also lead to slow water build-up that eventually drips through your ceiling. Recognising the cause early helps you decide whether a quick DIY patch will work or if a professional needs to step in.
Common causes of ceiling leaks include:
- Structural cracks – Shifts in plaster or roofing that allow water to sneak in.
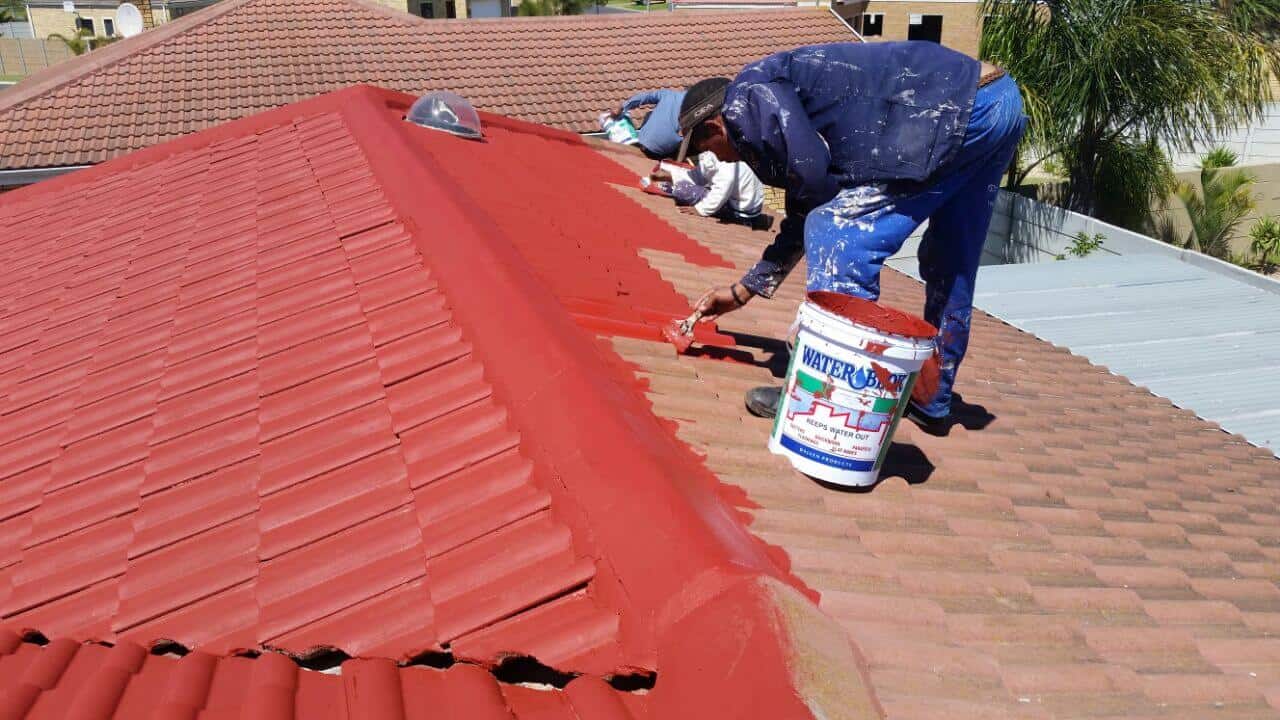
- Roof issues – Broken or missing tiles, cracked flashing, clogged or overflowing gutters after storms.
- Plumbing problems – Burst, corroded or leaky pipes, faulty seals around showers, baths, or upstairs toilets.
- Condensation build-up – Poor insulation or ventilation leading to moisture pooling in roof cavities.
- Blocked gutters and downpipes – Water backing up and seeping into the roof lining.
Related: DIY vs Pro Roof Leak Repair
DIY Quick Fixes for Ceiling Leak Repair
When water starts dripping from your ceiling, your first goal is to limit the damage and buy yourself time. Think of it like putting in a plug – for now – until a permanent solution is in place. Here are some DIY quick fixes you can try right away:
Contain the leak
Grab buckets, pots or even a large trash bin and place them under the leak. Spread towels or plastic sheeting to protect your furniture and floors. This isn’t glamorous, but it keeps the spill from ruining carpets or electronics.
In fact, restoration pros recommend acting fast: move any valuables out of the room, and if the ceiling bulges alarmingly with water, carefully puncture it to release pressure. Use a screwdriver or sharp tool to make a small hole at the lowest point of the bulge, draining the water into your bucket – this prevents a sudden ceiling collapse. (Trust us, you don’t want that waterfall surprise.)
Turn off power if needed
If the leak is near a light fixture, fan, or electrical outlet, switch off the circuit breaker for that room first. Water and electricity are a dangerous mix: experts warn to “shut off power to the affected area and call a licensed professional immediately.” Safety first – it’s worth the extra caution.
Apply a temporary seal
For very small leaks (like hairline cracks or tiny nail holes), you can apply a waterproof sealant or roofing tape from the inside, if the ceiling is accessible. Damp-proof silicone sealant or bitumen tape can “buy you time until a professional repair is made.” These products are available from Bunnings or plumbing stores, and they work best on minor leaks.
Similarly, you might apply a patching compound to fill small cracks and holes once the area is dry. Remember, this is just a temporary fix – the underlying problem still needs attention.
Dry, clean and treat
Once the flow is stopped, dry the area as thoroughly as possible. Use fans, dehumidifiers, and good ventilation to chase out moisture. If you see any mould beginning to grow, clean the spot with a mold-killing solution (a diluted bleach or specialist fungicide) – but always wear protective gear.
Safety guides even highlight goggles, gloves and a mask when cleaning up water damage. Drying the ceiling completely is crucial to prevent mold from taking hold and causing health hazards.
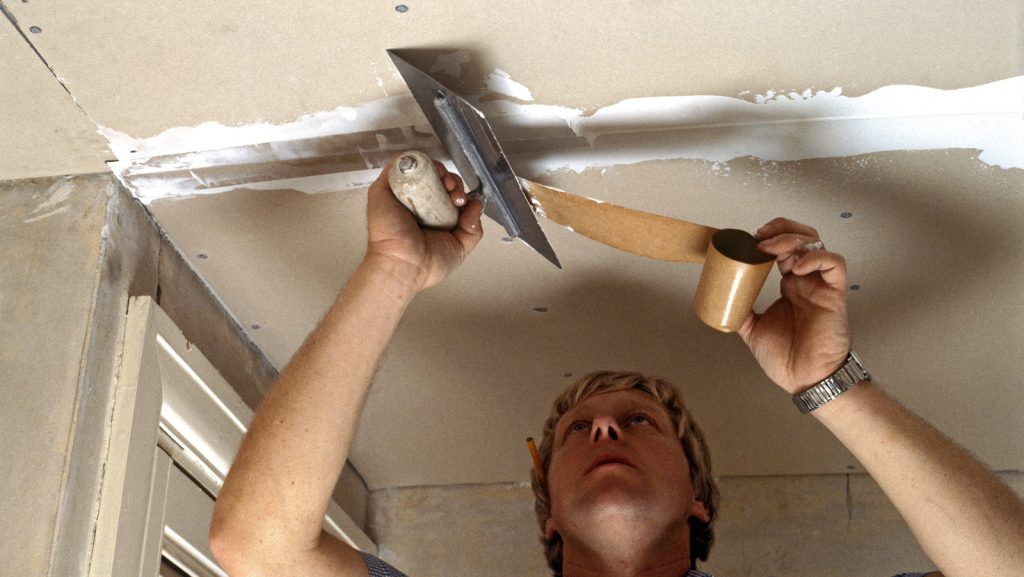
Patch and finish
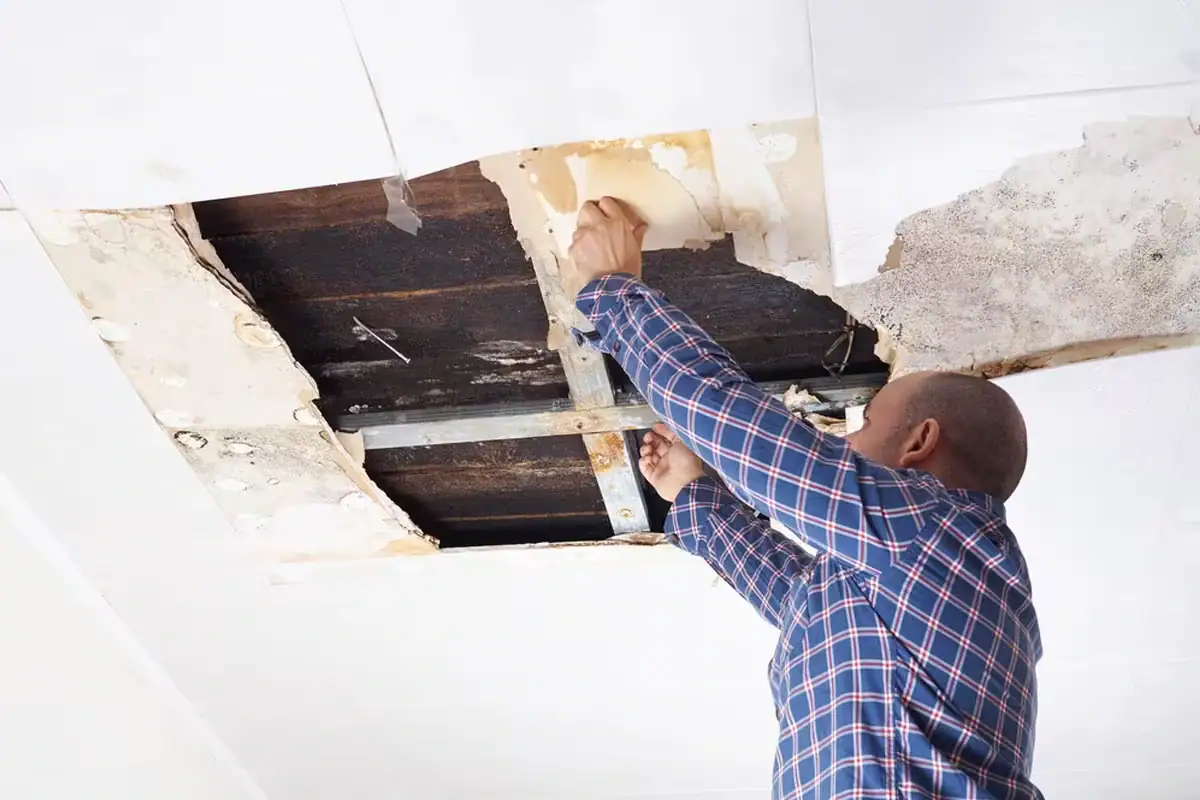
Once dry, repair cosmetic damage. For small holes or cracks, apply a spackling paste or joint compound with a putty knife, then sand smooth after it dries. If the water damage is worse, you might need to cut out and replace a damaged section of plasterboard. (If you go DIY here, government home guides remind us to “replace damaged plasterboard or insulation” and dry the area first.)
After patching, use a stain-blocking primer to cover water marks, then repaint to blend with the rest of the ceiling. Home repair experts advise using the right tools – a taping knife, drywall mud, mesh tape and a sanding sponge – to do the job properly.
Each of these DIY steps is aimed at putting out the fire, so to speak. They can save you money and often give quick results for minor leaks. Many homeowners find it gratifying to handle small repairs themselves – fixing things DIY can be “empowering” and cost-effective. But keep in mind: these measures are generally temporary fixes.
They won’t fix a broken roof beam or a burst pipe deep in a wall. Think of it like bandaging a wound – it helps, but if something’s really broken inside, you’ll need more than a band-aid.
When to Call a Professional
If your ceiling leak is more than a few drops and a DIY sponge, it’s wise to bring in the big guns. Here are scenarios when professional repair is the smarter move:
Extensive or hidden damage
If water damage is widespread (entire section of ceiling sagging, multiple stains), or if you don’t know the source, it’s time to call an expert. Pros have the tools and experience to track down hidden leaks – for instance, roofing and plumbing specialists use thermal imaging cameras and moisture sensors to pinpoint water behind walls or under floors without demolition.
They can also diagnose plumbing leaks with pressure tests or advanced locators. Without this gear, a DIYer might miss a problem that worsens behind the scenes.
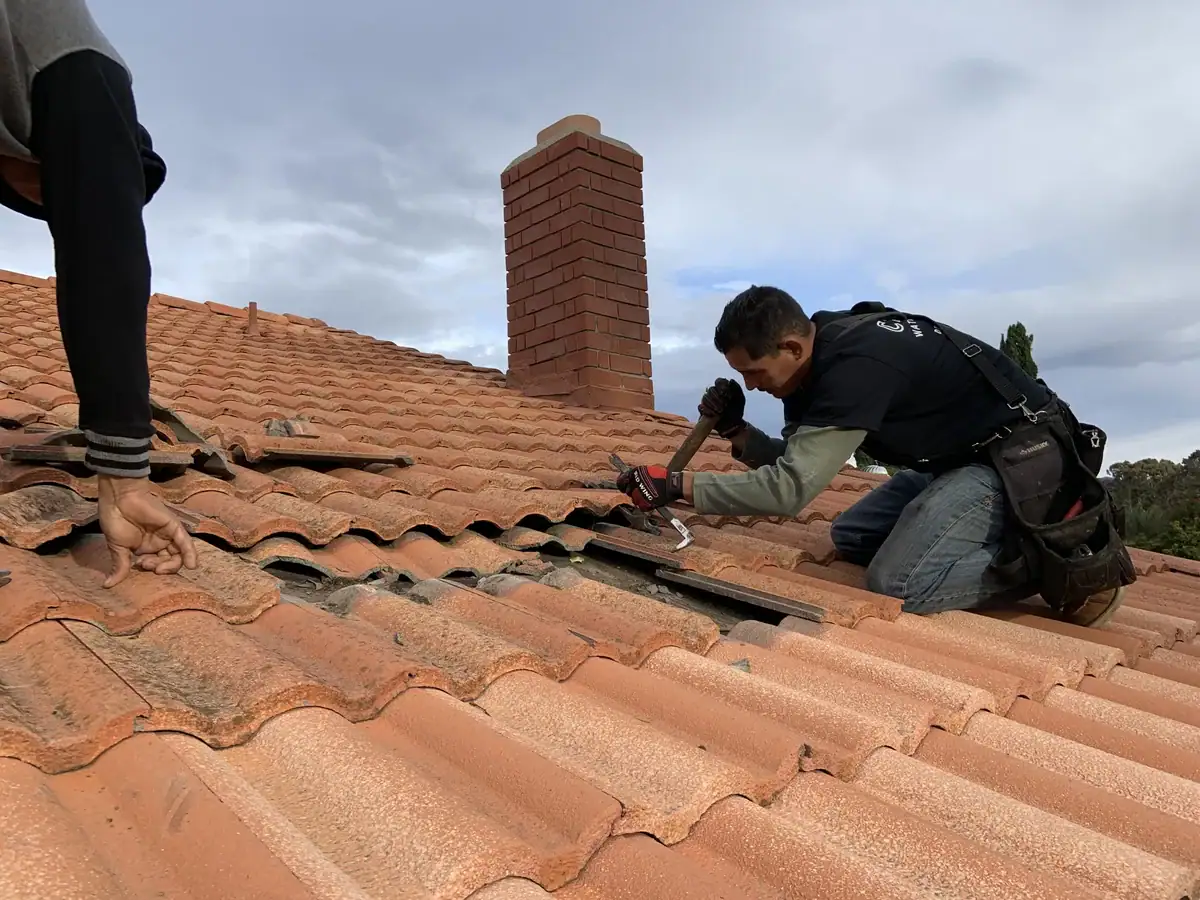
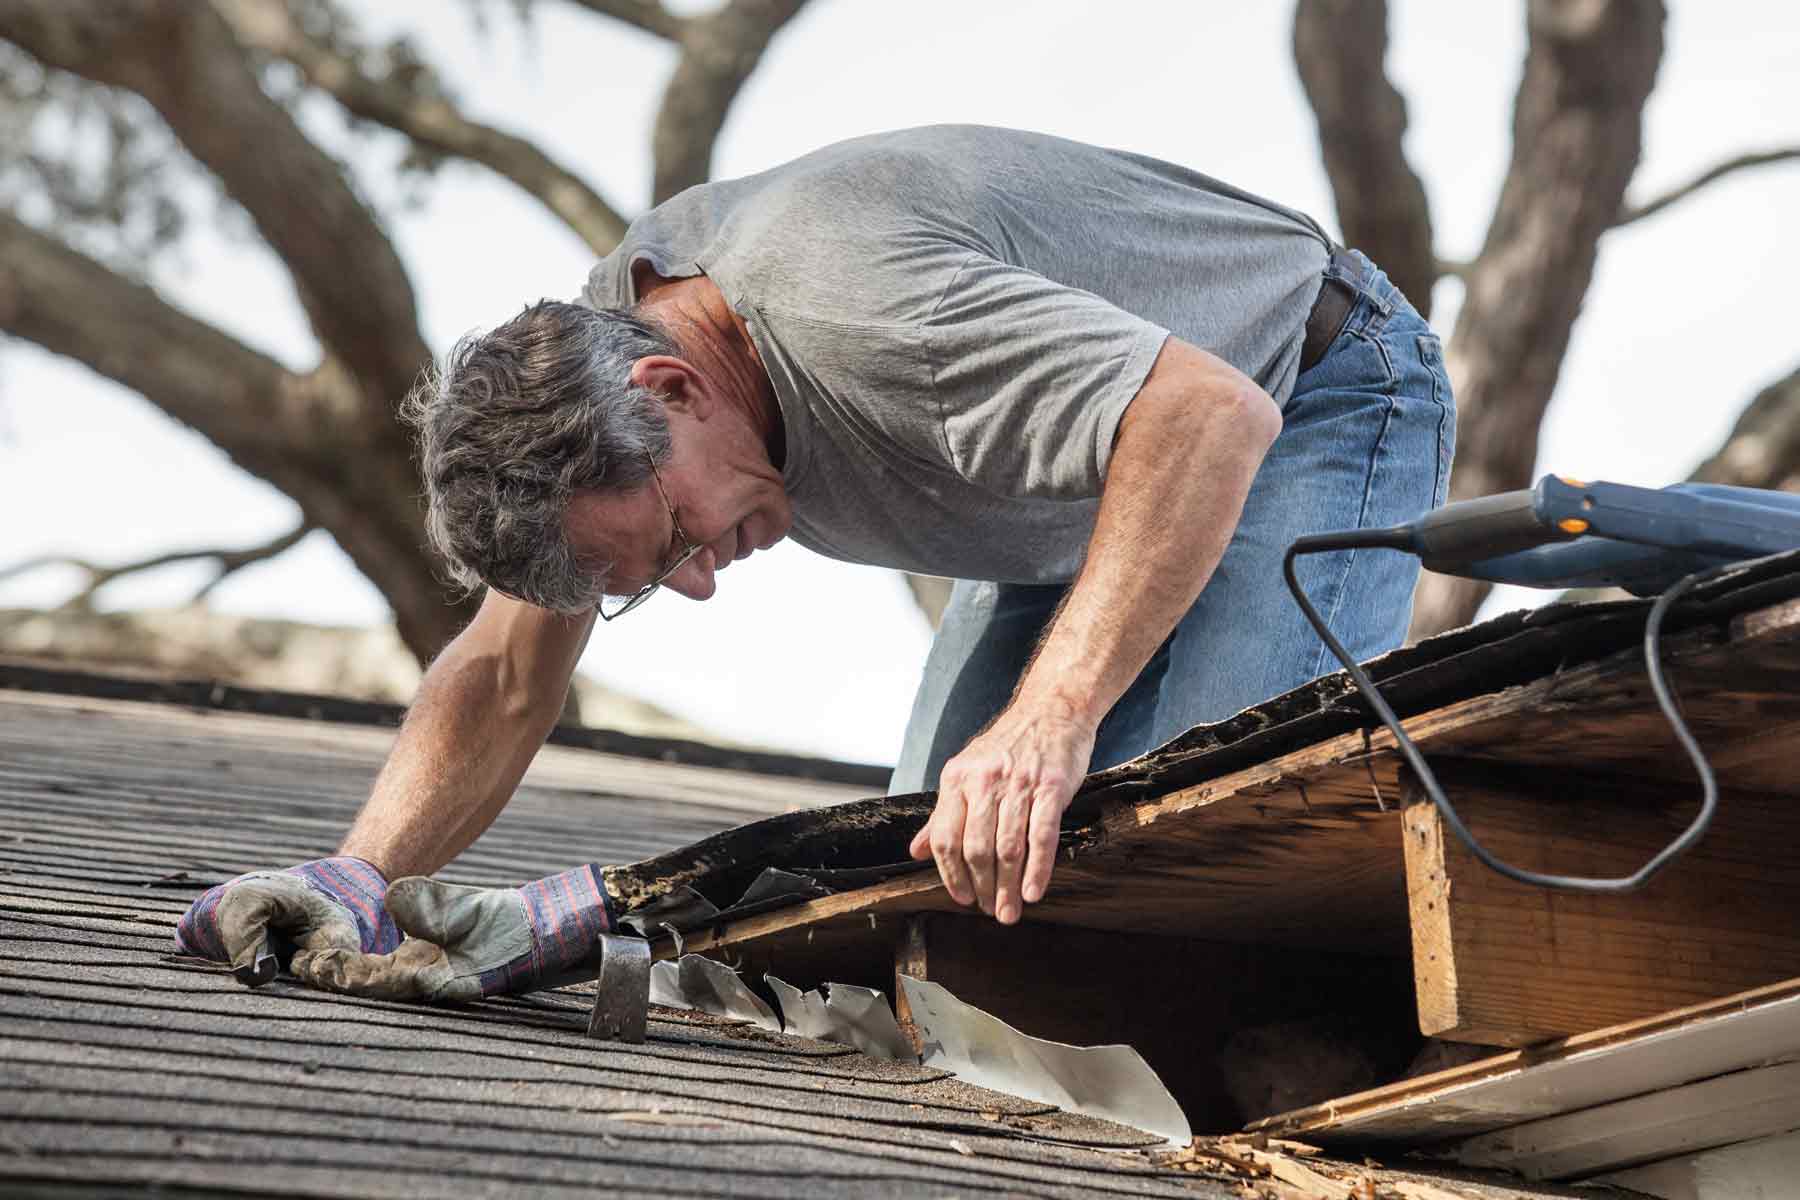
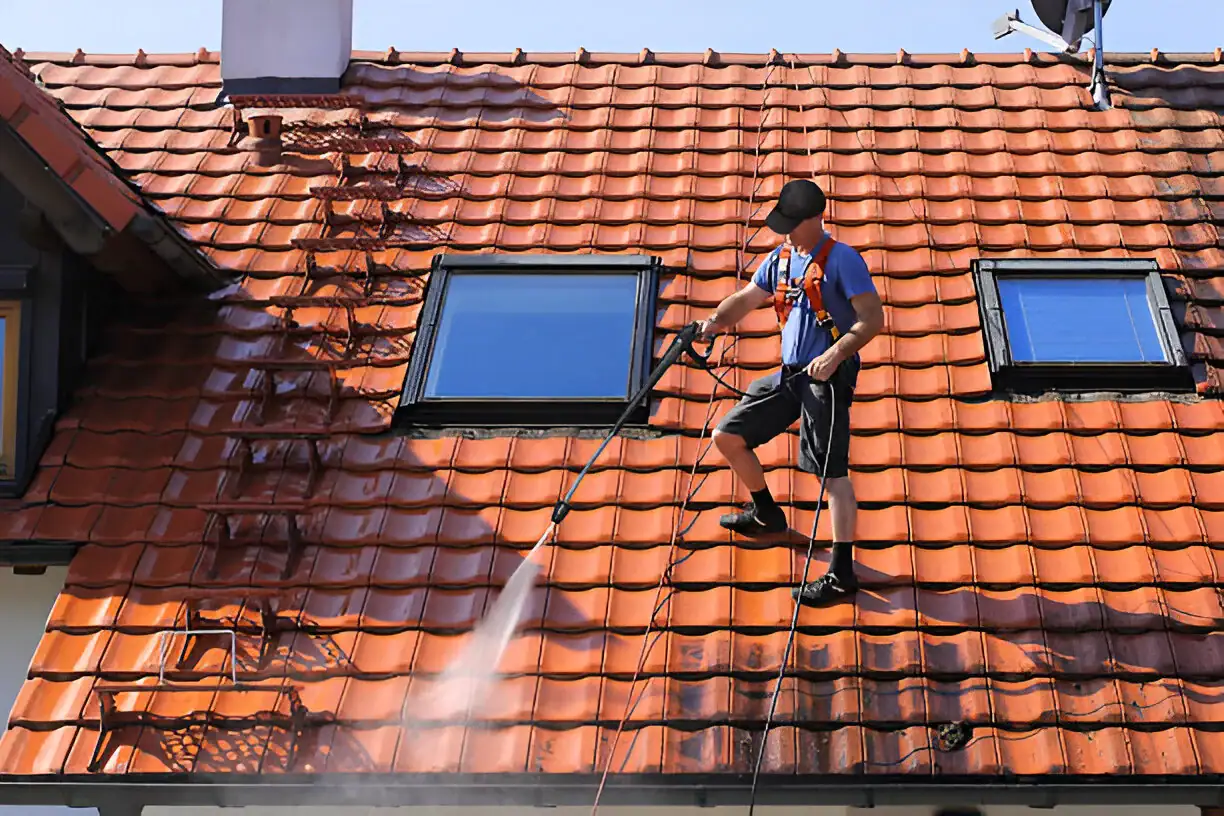
Roof-related leaks
Climbing on a roof during a rain or fixing tiles is not DIY for most people. If your ceiling leak only happens during storms, or if you see roof damage, an experienced roofer or plumber should handle it. Experts warn: “Falls from roofs are among the most common DIY injuries” and roof fixes require special materials and safety gear.
A pro will not only patch the hole but also ensure proper flashings and gutter work to keep rain out for good. In fact, official Australian guidance suggests checking your roof while it’s raining to trace leaks, and then sealing holes with silicone or bitumen tape (or calling a builder).
Structural or electrical issues
Water where it shouldn’t be can hide bigger dangers. If your ceiling is soft, drooping or bulging – or you notice leaks near electrical fittings – don’t risk it. Water and electricity can cause short circuits or fire, and a sagging ceiling might collapse without warning. Licensed contractors have safety training and insurance to handle heights, wires, and structural repairs safely. In short, if the leak situation could harm you or your home, let the professionals take over.
Long-term guarantee and peace of mind
Remember that reputable contractors often offer warranties on both their work and the materials used. That means you pay more upfront, but you also gain assurance that the job is truly done right. Professionals won’t just cover the hole – they’ll tackle the root cause of the leak.
They’ll re-lay roof tiles, replace corroded pipes, and restore insulation or plaster so that the leak “will be handled with expertise and precision.” While hiring a pro may be more expensive initially, it often leads to “long-term savings” by preventing future damage. You’ll also save countless weekends and headaches – one fewer DIY disaster story to share with your mates over a beer.
In other words, bringing in an expert is like using a specialist mechanic instead of trying to fix your car yourself – they have the know-how to do it faster and avoid hidden issues. So when should you call?
If you’ve followed the DIY checklist above and the leak persists, if the leak is large or recurring, or if you see mold/spores growing, it’s time to phone a plumber or roofer. Even big insurance companies note that sudden leaks from burst pipes or storms are typically covered, whereas neglect (like unrepaired roof damage) might not be.
DIY vs Professional: Comparison Table
| Consideration | DIY Quick Fixes | Professional Repair |
|---|---|---|
| Upfront Cost | Low: basic supplies (bucket, tape, plaster) | Higher: pays for skilled labour and equipment. |
| Long-term Cost | Risk of more costs: Missing the true cause can lead to repeat leaks and mould | Potential savings: A thorough repair stops problems early. |
| Time & Effort | Immediate: You can start today, but it may eat up your weekend | Scheduled: May need an appointment, but gets fixed efficiently. |
| Tools & Expertise | Basic tools: ladder, sealant, patching kit (no training needed) | Specialized tools: thermal cameras, moisture meters, HVAC gear. |
| Safety & Risk | Riskier: DIY means handling heights, electricity, ladders or mold without gear | Safer: Pros are trained for hazards and usually insured. |
| Quality & Guarantee | Temporary patch: Likely to be obvious (drip may return); no warranty. | Professional finish: Seamless repairs; often come with warranties. |
Conclusion
A ceiling leak in Parramatta is no small matter – with Sydney’s unpredictable weather and old plumbing, leaks demand prompt attention. The good news is, by taking immediate action you can limit damage and decide the best path forward.
Quick DIY fixes (bucket, sealant, patch) can save the day when the leak is minor and obvious. But for anything more serious – pervasive stains, bulging ceilings, or mystery dripping – it pays to call in a professional. Experts not only have the advanced tools and skills to find the leak’s source, but they also fix the underlying problem so you won’t be doing this dance again.
Ultimately, the choice depends on your situation. Both DIY and professional repairs have merit depending on the case. If you do decide to tackle the job yourself, proceed carefully (always err on the side of safety). If in doubt, get a quote from a licensed roofer – you might find peace of mind is worth the cost.
Now that you’re armed with knowledge and steps for both DIY and pro routes, which way will you go? Feel free to share your own ceiling-leak adventures or tips below. And if this guide helped you keep the drip at bay, why not pass it on to a mate who might need it next rainy day?
Frequently Asked Questions
How do I know if I need urgent ceiling leak repair?
If your ceiling is sagging, dripping steadily, or showing large water stains, that’s a sign you need urgent repair. A sudden leak near electrical fittings or after a heavy storm is also an emergency situation.
Can I do ceiling leak repair myself?
You can try temporary fixes like catching the drip, sealing small cracks, or drying the area. But full ceiling leak repair often requires finding the true source — which could be a roof or plumbing issue — so a professional is usually needed for a lasting solution.
How much does ceiling leak repair cost in Parramatta?
Minor repairs (like patching plaster or sealing a small area) might cost a few hundred dollars. If the problem involves roof replacement, plumbing work, or extensive damage, repairs can run into the thousands. Getting a quote from a local professional will give you a clearer idea.
How can I prevent needing ceiling leak repair in the future?
Regularly clean your gutters, inspect your roof for missing tiles, and check upstairs bathrooms for leaks. Good ventilation in your roof space also helps prevent condensation build-up. Staying on top of maintenance is the best way to avoid costly ceiling leak repair later.